
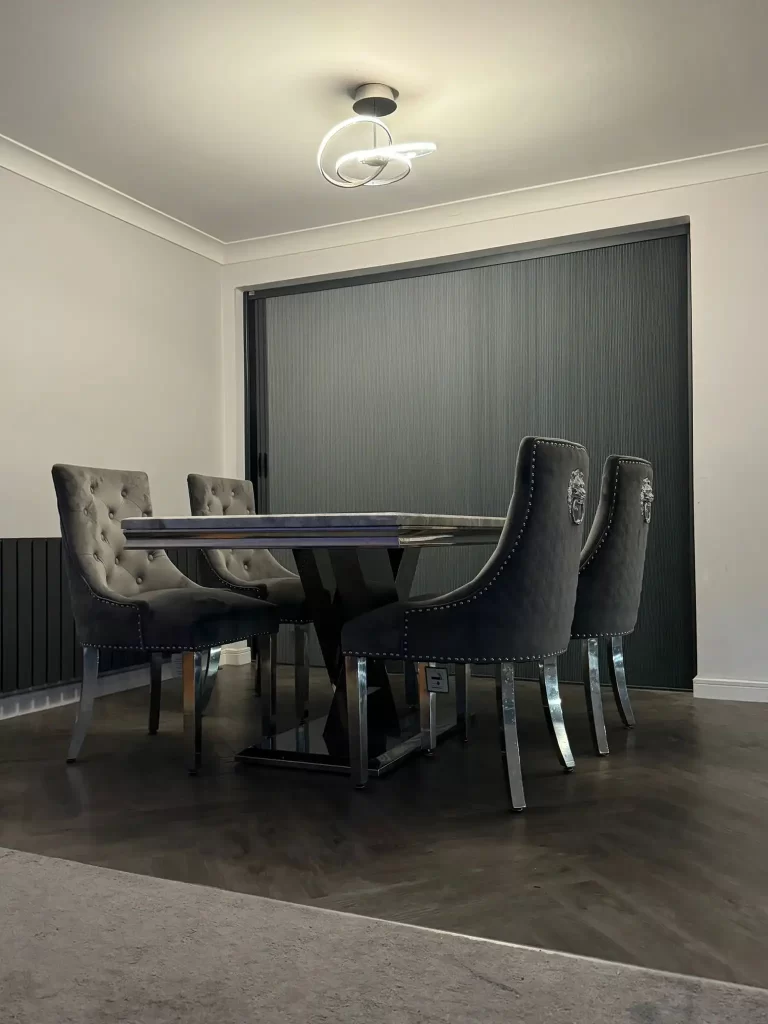
If you want complete darkness in your home, blackout blinds are, without a doubt, an excellent solution. Perfect for bedrooms, media rooms, or any space where light control is essential, blackout blinds not only improve your sleep quality but also enhance your home’s energy efficiency. At North East Blind Screen, we specialise in high-quality blackout blinds installation. Therefore, in this guide, we will walk you through the steps to install blackout blinds, ensuring you enjoy the benefits of a darkened space in no time.
Why Choose Blackout Blinds?
Before diving into the installation process, let’s discuss why blackout blinds are a worthwhile investment:
Improved Sleep Quality
Light can significantly disrupt your sleep patterns. By blocking out external light sources, blackout blinds create an ideal sleep environment, helping you wake up feeling refreshed and energised.
Enhanced Privacy
Blackout blinds provide an added layer of privacy, preventing outsiders from seeing into your home, especially at night. This makes them ideal for ground-level rooms or areas facing busy streets.
Energy Efficiency
Blackout blinds can help regulate the temperature in your home. By blocking sunlight during hot days, they can keep your space cooler, reducing the need for air conditioning and ultimately lowering your energy bills.
Versatility in Design
Available in various styles, colours, and materials, blackout blinds can complement any interior décor. Whether you prefer a sleek modern look or a classic design, you have a blackout option.
Step-by-Step Installation Guide
Installing blackout blinds may seem daunting, but you can achieve a professional-looking result with the right tools and patience. Here’s a step-by-step guide to help you through the process.
Step 1: Gather Your Tools and Materials
Before you begin, ensure you have the following tools and materials ready:
- Blackout blinds (measured to fit your window)
- Mounting brackets (usually included with the blinds)
- Screws and anchors (if needed)
- A drill and drill bits
- A screwdriver
- A measuring tape
- A level
- A pencil for marking
- A step ladder (if needed)
Step 2: Measure Your Window
Accurate measurements are crucial for a successful blackout blinds installation. Begin by measuring the width and height of your window frame, taking note of any obstructions, such as handles or locks, that may affect the installation process. Additionally, ensure you decide whether to mount the blinds inside or outside the window frame. Inside mounts offer a clean look, whereas outside mounts can create the illusion of a larger window.
Step 3: Mark the Mounting Position
Mark where you will install the mounting brackets using a pencil and level. If you are mounting the blinds inside the frame, ensure that the brackets are placed approximately 1/4 inch from the top. Furthermore, for outside mounts, verify that the brackets are levelled and properly aligned with your desired width.
Step 4: Install the Mounting Brackets
Using your drill, carefully install the mounting brackets at the marked positions. Additionally, if your window frame is made of drywall or plaster, use anchors for added support. Ensure that the brackets are not only securely attached but also level for proper functionality.
Step 5: Prepare the Blackout Blinds
Before hanging the blinds, first unpack them and ensure all components, including the valance (if included), are present. Next, follow the manufacturer’s instructions for preparing the blinds for installation. This typically involves attaching any necessary hardware to the blinds to ensure a smooth installation process.
Step 6: Hang the Blackout Blinds
Carefully lift the blinds and align them with the installed brackets. If you’re using inside mounts, gently fit the blinds into the brackets, ensuring they not only fit snugly but also click into place. For outside mounts, ensure the blinds are centred, and then securely fasten them into the brackets as per the manufacturer’s instructions.
Step 7: Attach the Valance (if applicable)
If your blackout blinds come with a valance, make sure to attach it according to the manufacturer’s instructions. The valance not only enhances the blinds’ aesthetic appeal but also helps block any remaining light around the edges, improving their overall effectiveness.
Step 8: Test the Blinds
Once installed, be sure to test the operation of your blackout blinds. They should not only open and close smoothly but also do so without any obstruction. Additionally, make any necessary adjustments to ensure they are hanging evenly.
Step 9: Enjoy Perfect Darkness!
With your blackout blinds successfully installed, you can now fully enjoy the benefits of perfect darkness in your home. Whether you are settling in for a peaceful night’s sleep or indulging in a movie marathon, your new blinds will not only enhance your living environment but also provide greater comfort.
Contact Us Today!
Blackout blinds installation can not only significantly improve the comfort of your home but also enhance its overall functionality. At North East Blind Screen, we are committed to providing high-quality blackout blinds that perfectly cater to your needs. Additionally, if you require professional installation services or assistance in choosing the right blinds for your space, contact us today! Let us, therefore, help you achieve the perfect darkness in your home for a better quality of life.
